双保险
多重加密+冷热钱包分离
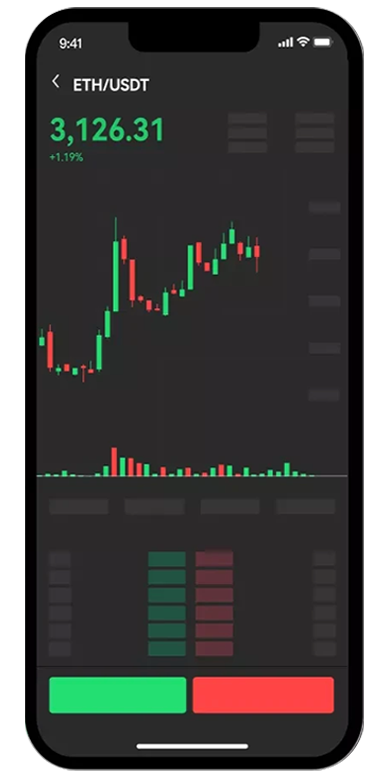
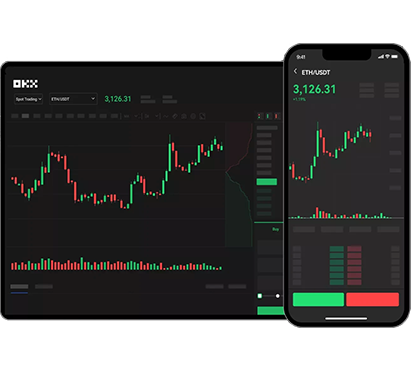
交易所支持BTC/ETH等主流币种秒级撮合
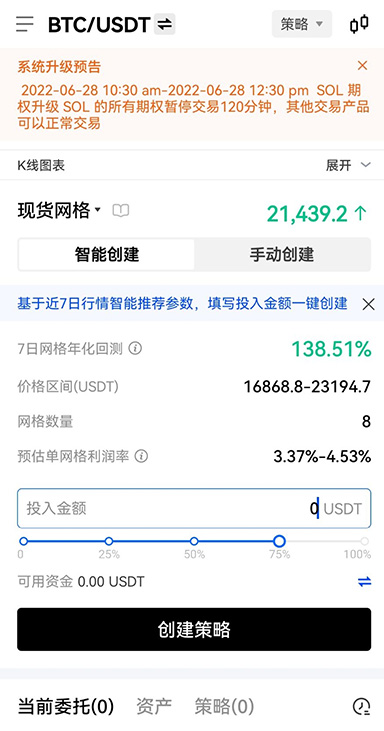
AI算法分析K线趋势,生成个性化交易策略
平台2025最新版本提供1-100倍灵活杠杆
多重加密+冷热钱包分离
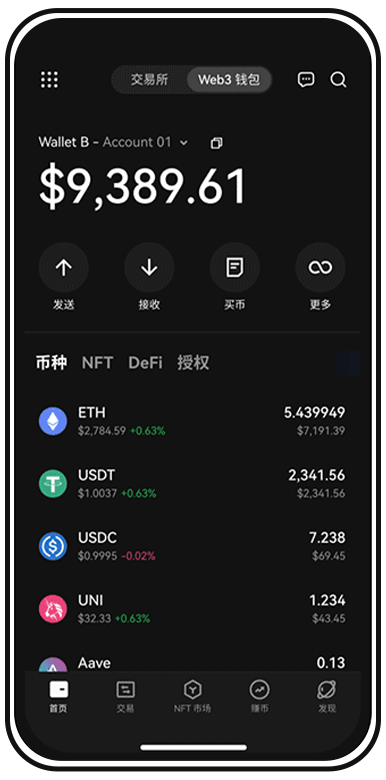
300+主流数字货币全覆盖
闲置资产增值神器
7×24小时,中英双语实时响应
马耳他金融牌照,合规交易更安心
日交易量50亿+,流动性行业前三
支持BTC等主流币及DeFi代币跨链交易
动态计算最优Gas价格,转账成本降低30%

交易所提供14天模拟盘+知识图谱

在设置页面选择主题模式,切换为暗黑模式可减少视觉疲劳,适合夜间交易。